Appearance
Repository & Branch Settings
This guide explains how to configure which repositories are synced and which branches are watched for publishing widgets, scripts, and stylesheets. After you've connected GitHub, use this page to choose which repositories sync and which branch each one uses.
Prerequisites
- A connected GitHub organization (see Connect Your GitHub Account)
- Access to repository settings in the platform
Step 1: Access Repository Settings
Navigate to your GitHub integration settings to view your repositories.
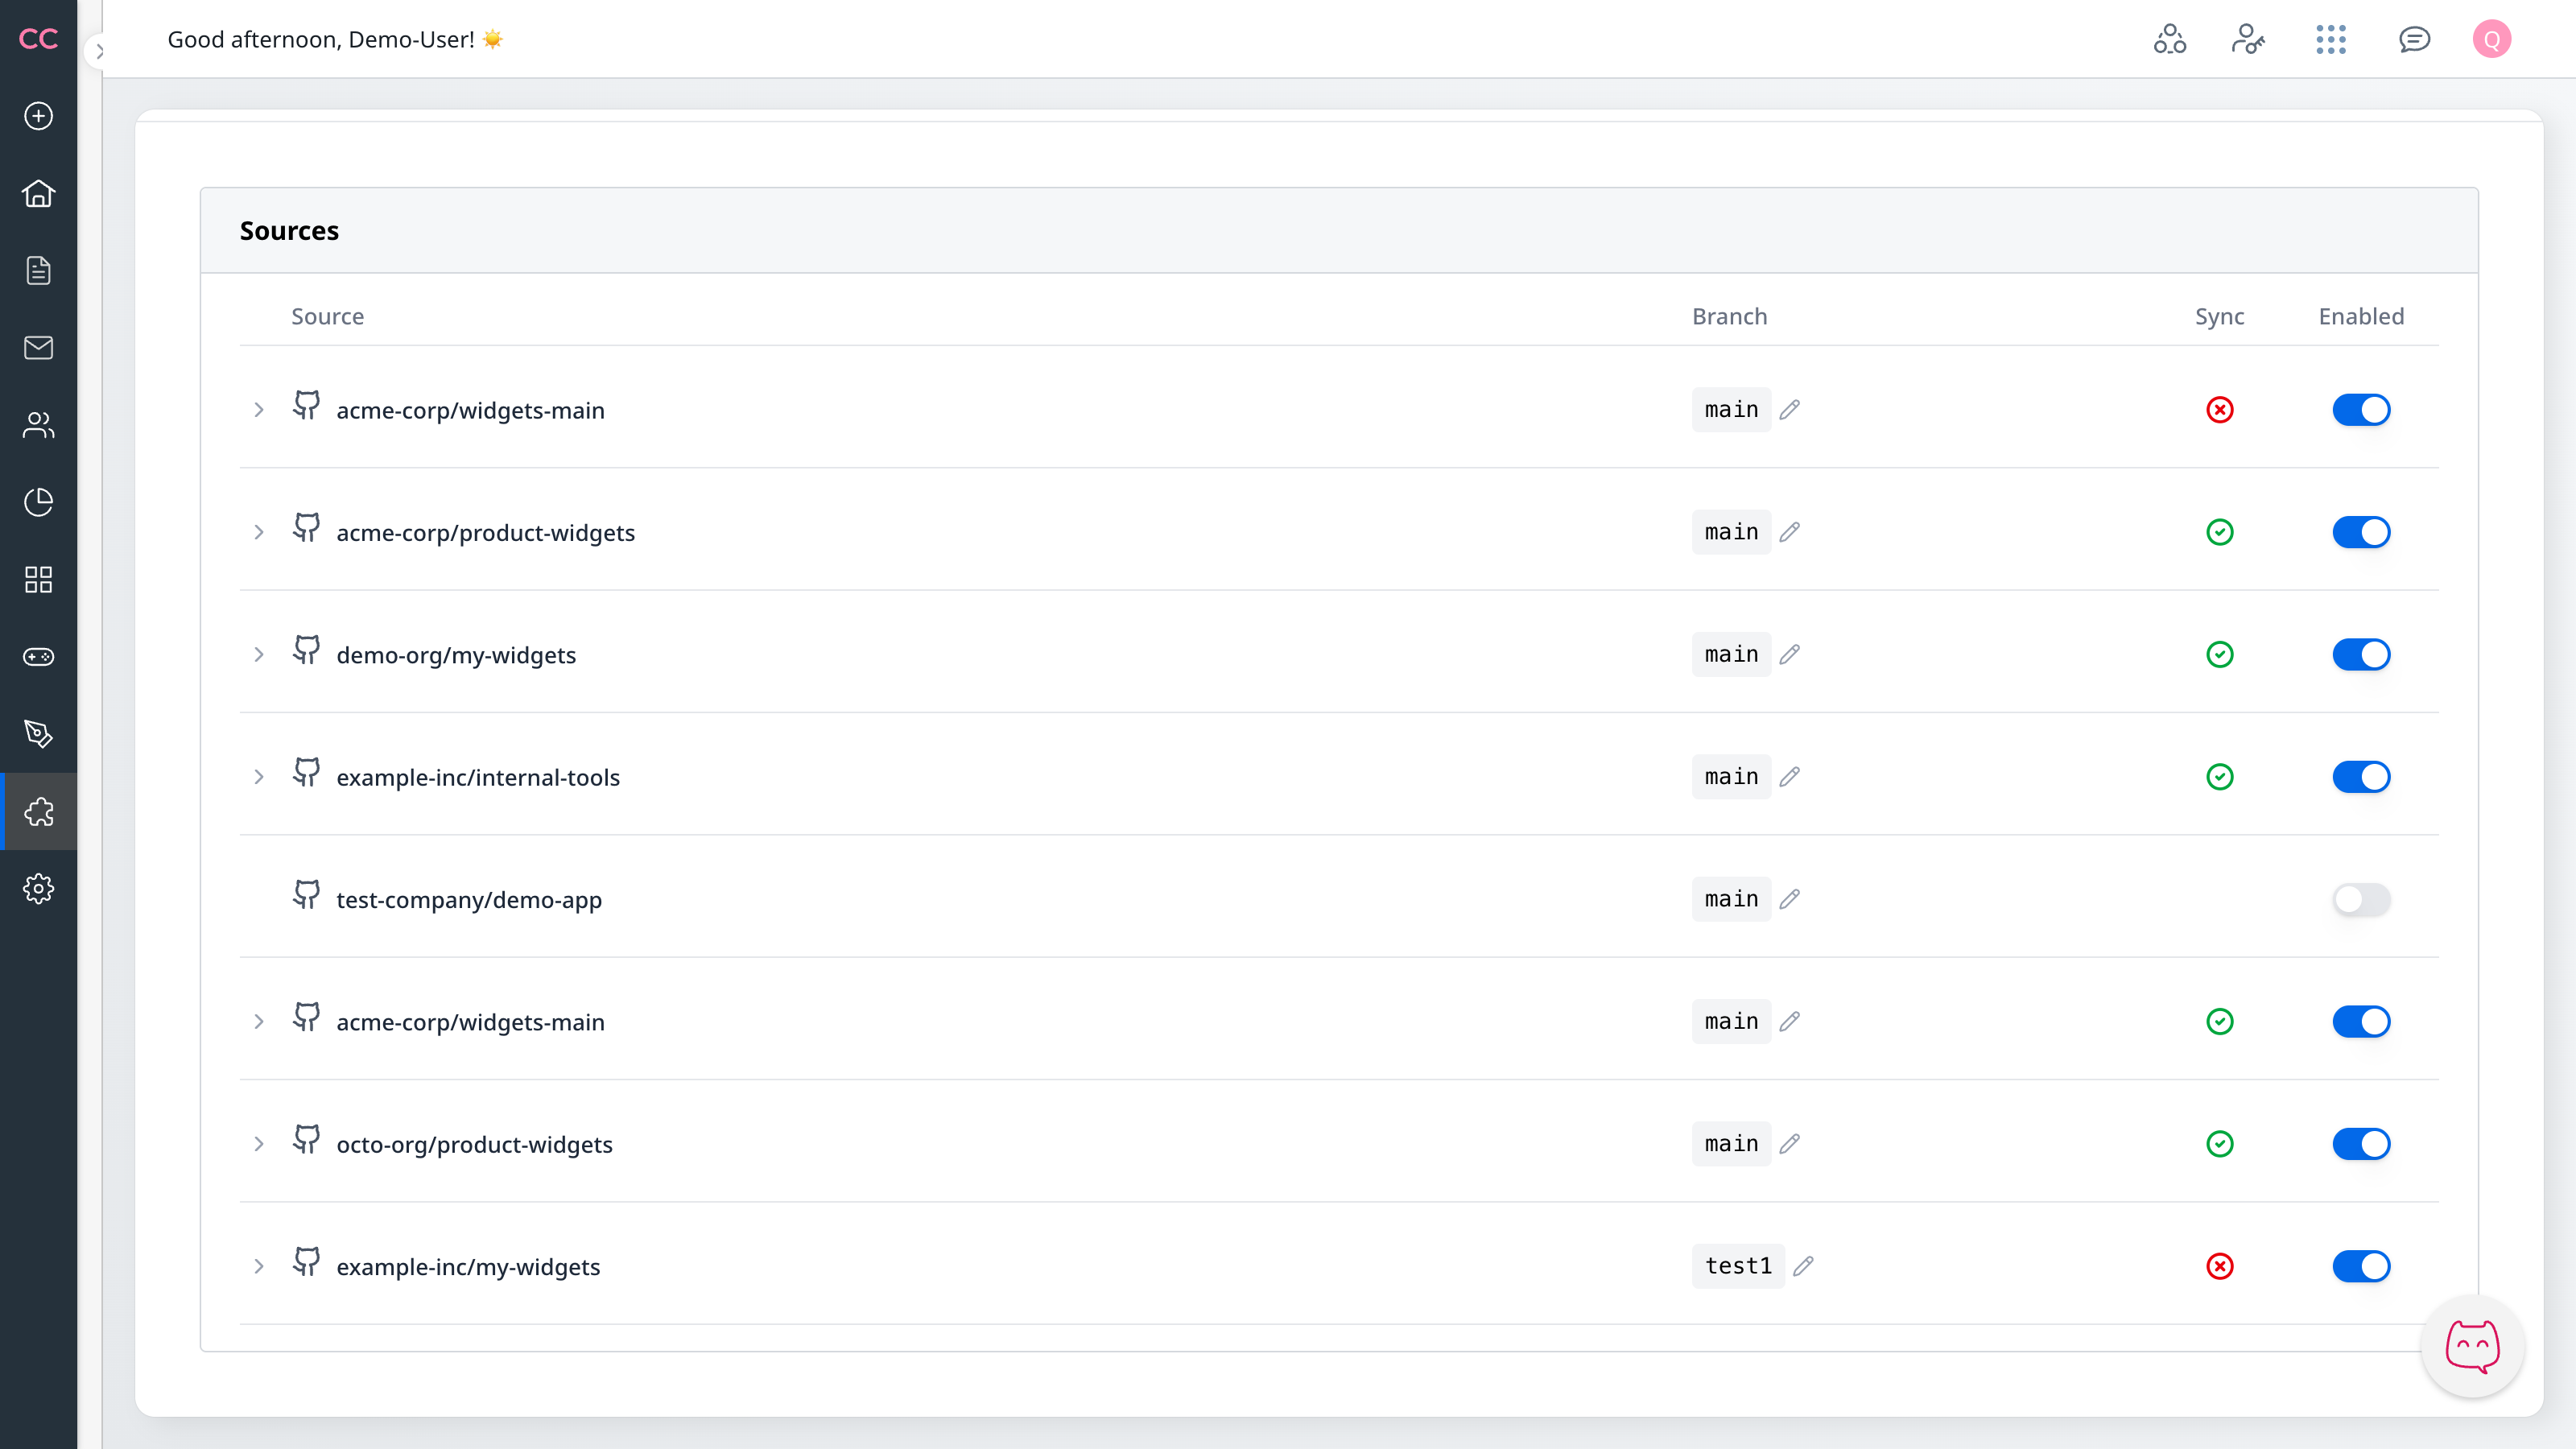
What you'll see:
- List of all repositories in your connected organization
- Current status (Enabled/Disabled) for each
- Watched branch configuration
- Build status indicators
Step 2: Understanding Repository States
Repositories can be in two states:
Enabled
- Widgets, scripts, and stylesheets are actively synced from this repository
- Pushes to the watched branch trigger updates
- Build status is tracked and displayed
Disabled
- Repository is visible but not actively synced
- No updates occur from this repository
- Useful for temporarily pausing sync without removing access
Note: Newly added repositories start in the Disabled state by default. This prevents unexpected updates until you're ready to configure them.
Step 3: Enabling a Repository
To start syncing content from a repository:
- Find the repository in your list
- Click the Enable toggle
- Publishing begins automatically from the configured branch
Note: Enabling a repository immediately triggers publishing — no push required. The system fetches current content from your watched branch.
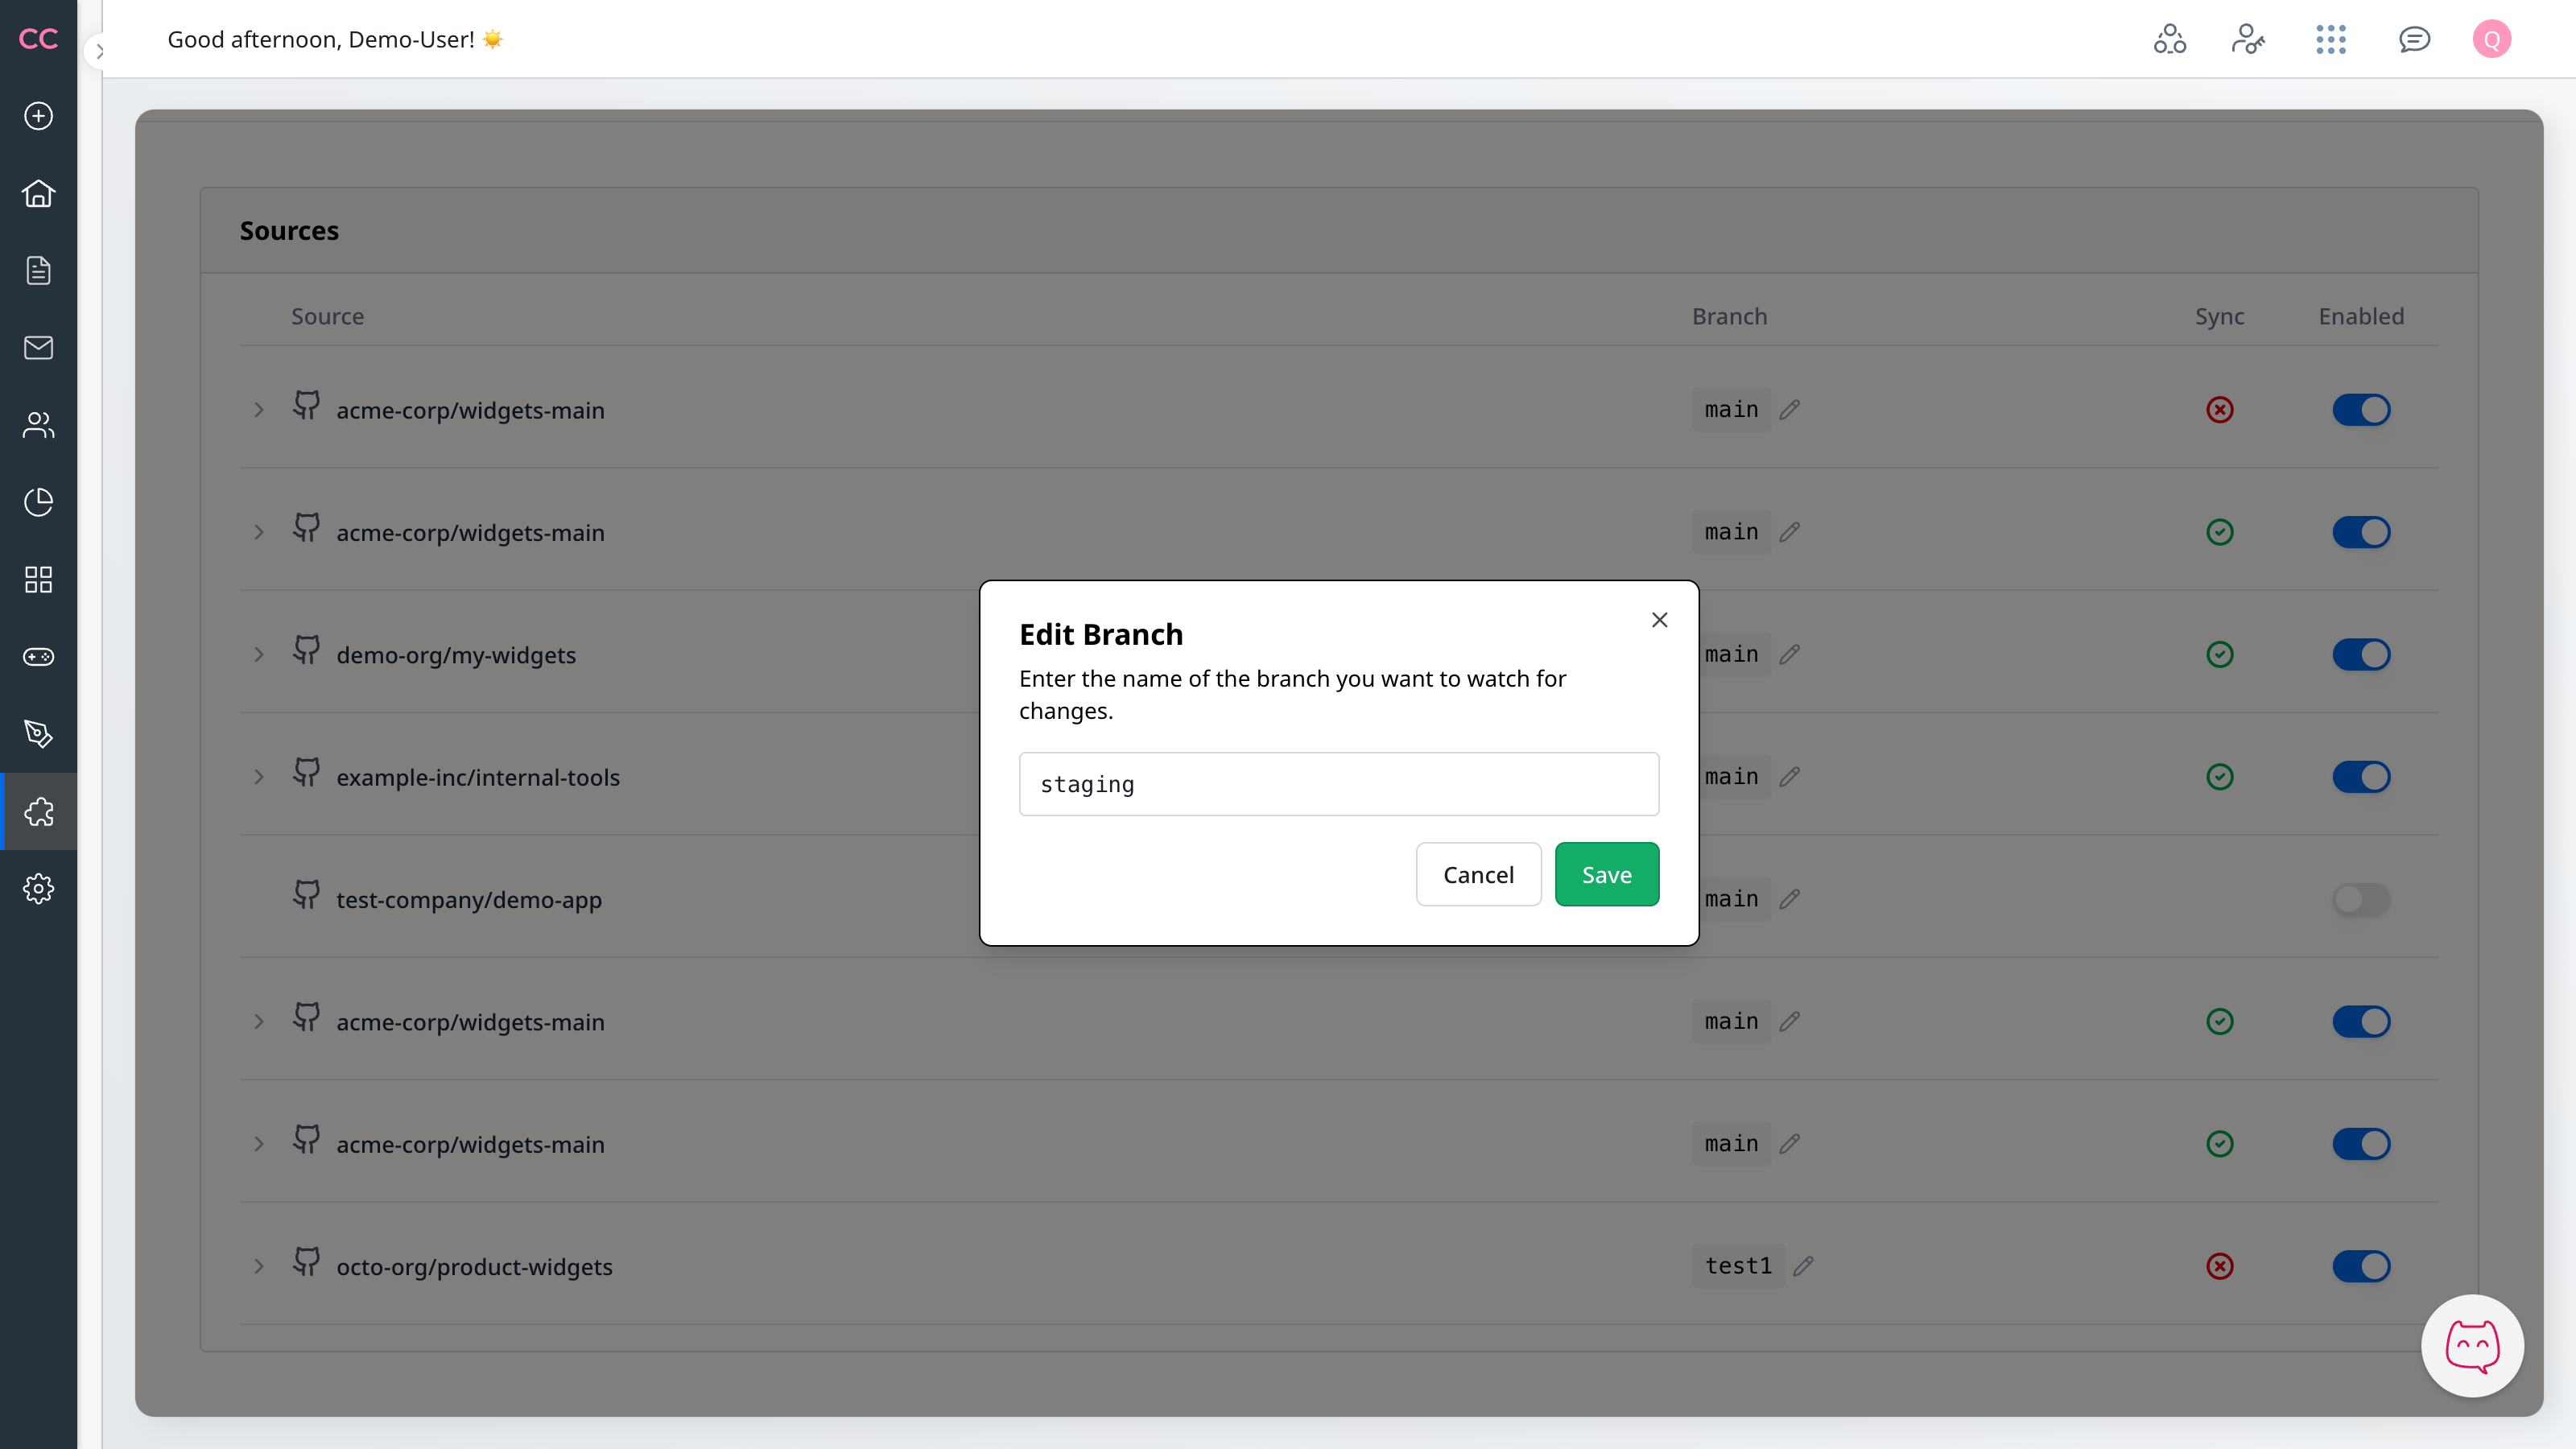
Step 4: Changing the Watched Branch
By default, repositories watch the main branch. You can change this to any branch that exists in your repository — you are not limited to the suggested options.
WARNING
Changing the watched branch replaces all existing widgets from that repository with content from the new branch. This affects all users of the community immediately. For staging or multi-environment workflows, use a separate community with the desired branch instead of changing the branch in your current community. Talk to your Gainsight team if you need a separate community for this. See Preview and Promote for a step-by-step guide.
- Locate the branch selector next to the repository
- Type or select the branch you want to watch
- Publishing automatically triggers from the new branch
The field accepts any valid Git branch name, such as feature/widgets-v2, release-1.0, or preview/my-test.
Branch Name Requirements
The platform accepts branch names that follow these rules:
- Allowed characters: letters, numbers,
/,_,-,. - Cannot contain
..(double dots) - Cannot start or end with
/
Git itself allows additional characters — the rules above are what the platform validates.
Common examples:
| Branch | Use Case |
|---|---|
main | Production content — stable, tested widgets, scripts, and stylesheets |
staging | Staging content — testing before production |
develop | Development content — work in progress |
These are typical choices, but you can use any branch that fits your workflow.
Per-Repository Branch Configuration
Each repository has its own watched branch (one per repository per community). To watch a different branch from the same repository without changing the existing setup, use a separate community (talk to your Gainsight team if you need one). For example, with the same repository connected to two communities:
- Production community watches
main— stable content for all users - Staging community watches
staging— same repository, separate community for testing
You can also use additional communities for other branches:
- Watch
feature/widgets-v2in a dev community while developing a new version - Use any branch naming convention that fits your team's workflow
To set a specific branch for a repository:
- Locate the repository in your list
- Click the branch selector next to that repository
- Type or select the desired branch
Changes take effect immediately.
Step 5: Disabling a Repository
To stop syncing a repository:
- Find the repository in your list
- Click the Disable toggle
- Syncing stops immediately
What happens when disabled:
- No new syncs occur from this repository
- Previously published widgets, scripts, and stylesheets are removed from your Community
- You can re-enable at any time to restore publishing
Step 6: Understanding Build Status
Each enabled repository shows its current build status:
| Status | Meaning | Next Step |
|---|---|---|
| In Progress | Build is running — content is being processed | Wait for completion (usually seconds to minutes) |
| Completed | Build succeeded — content is now live | Content is available in the No-Code Builder |
| Warning | Build succeeded and content is live, but advisories were detected that need your attention (for example, deprecation notices) | Click the status indicator to review the warnings and act on them before they become blocking |
| Failed | Build failed — check error details for cause | Fix the issue in your repo and push a new commit |
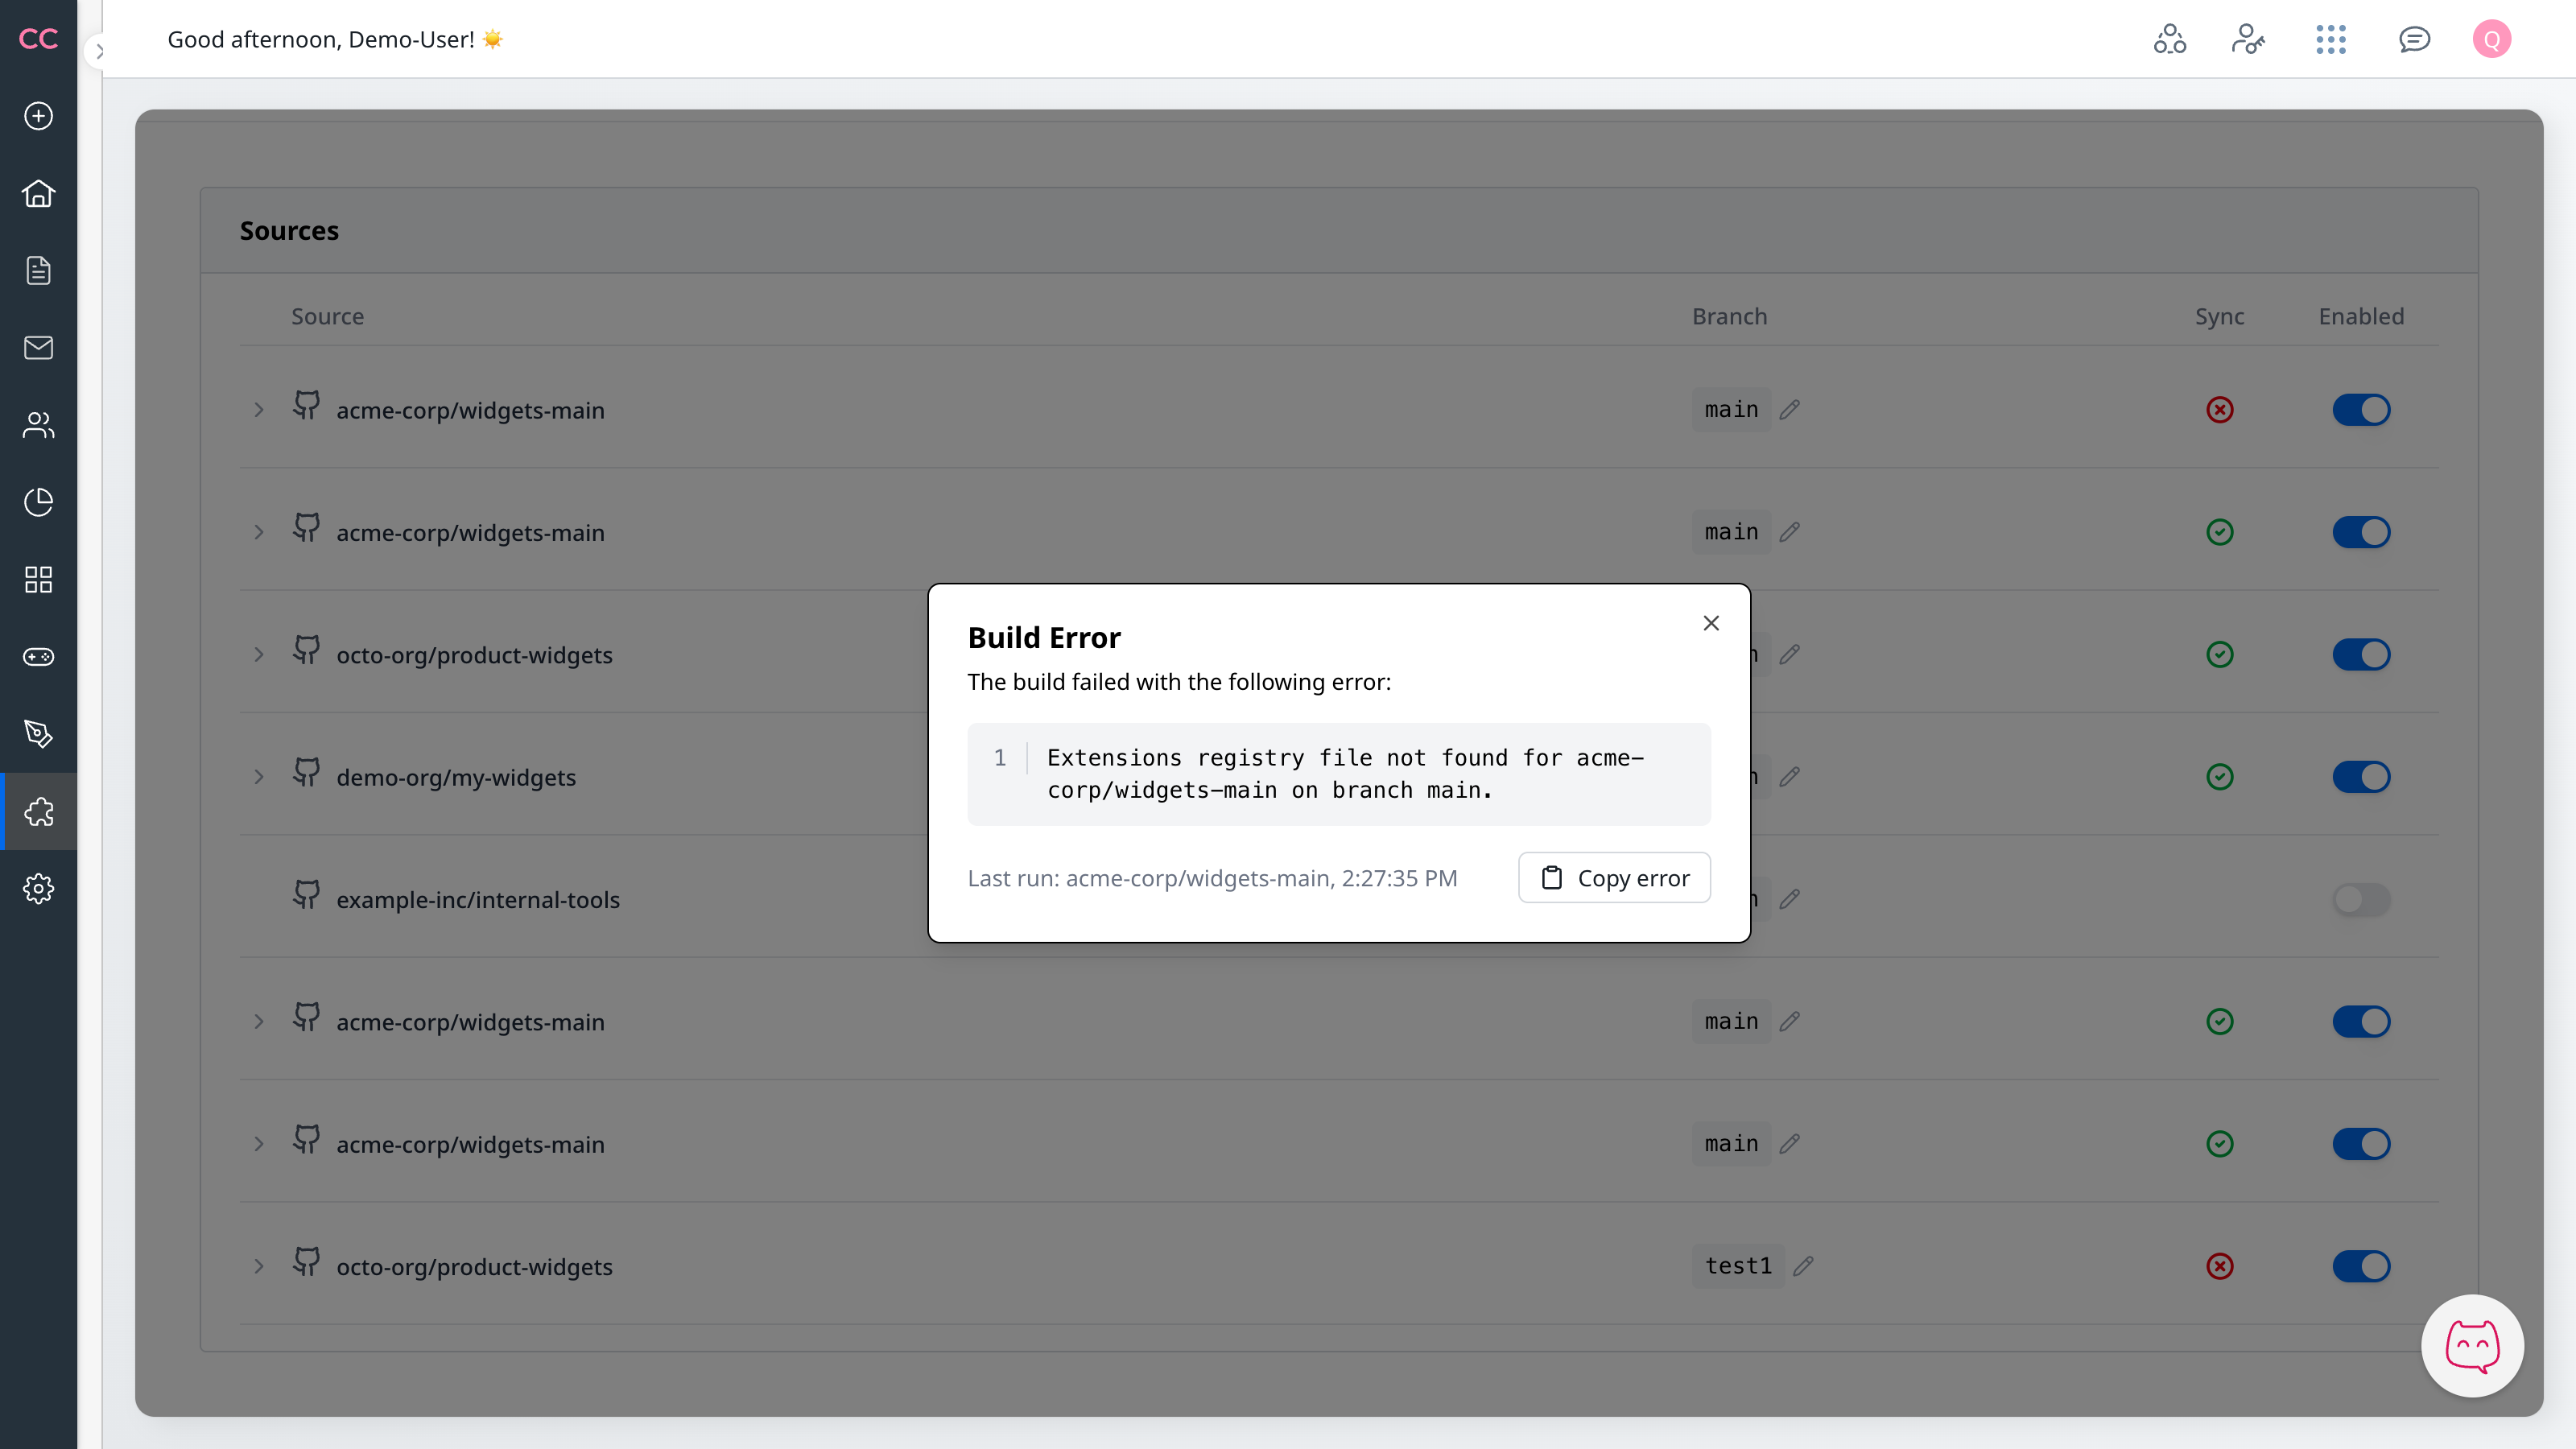
Tip: Click the status indicator to see additional details, including the last run time. For Failed builds this shows the error message; for Warning builds it lists the advisories detected on the latest build.
If a build fails:
- Click the failed status indicator to see the error details
- Common issues include missing widget configuration, missing referenced files, or invalid JSON
- Fix the issue in your repository
- Push a new commit to trigger a retry
If a build finishes with warnings:
- Click the status indicator to see the list of advisories
- Warnings do not block publishing — your content is already live — but they flag issues that may become blocking in a future release (for example, a deprecated filename that will stop working once the legacy fallback is removed)
- Address each advisory in your repository and push a new commit; subsequent builds will drop warnings once the underlying cause is resolved
For more build troubleshooting, see Common Issues.
Troubleshooting
"Repository not appearing in the list"
- Ensure the repository has been granted access during GitHub App installation
- Check if the app has been granted access to that specific repository
- Try refreshing the page or reconnecting your installation
"Can't change the branch"
- Verify the branch exists in the repository
- Check that your GitHub user has access to that branch
- Try refreshing to reload available branches
"Build keeps failing"
- Review error messages in the build details
- Ensure configuration files are correctly formatted (valid JSON)
- Check that all referenced files exist in the watched branch
- See Common Issues for specific error resolutions
"Installation suspended"
If your GitHub App installation is suspended, content updates stop until it's reactivated. See Common Issues for causes and how to resolve.
Next Steps
- Build & Publish — Learn how pushes become widget, script, and stylesheet updates
- Multiple Organizations — Work with multiple GitHub organizations